Know your camera basics
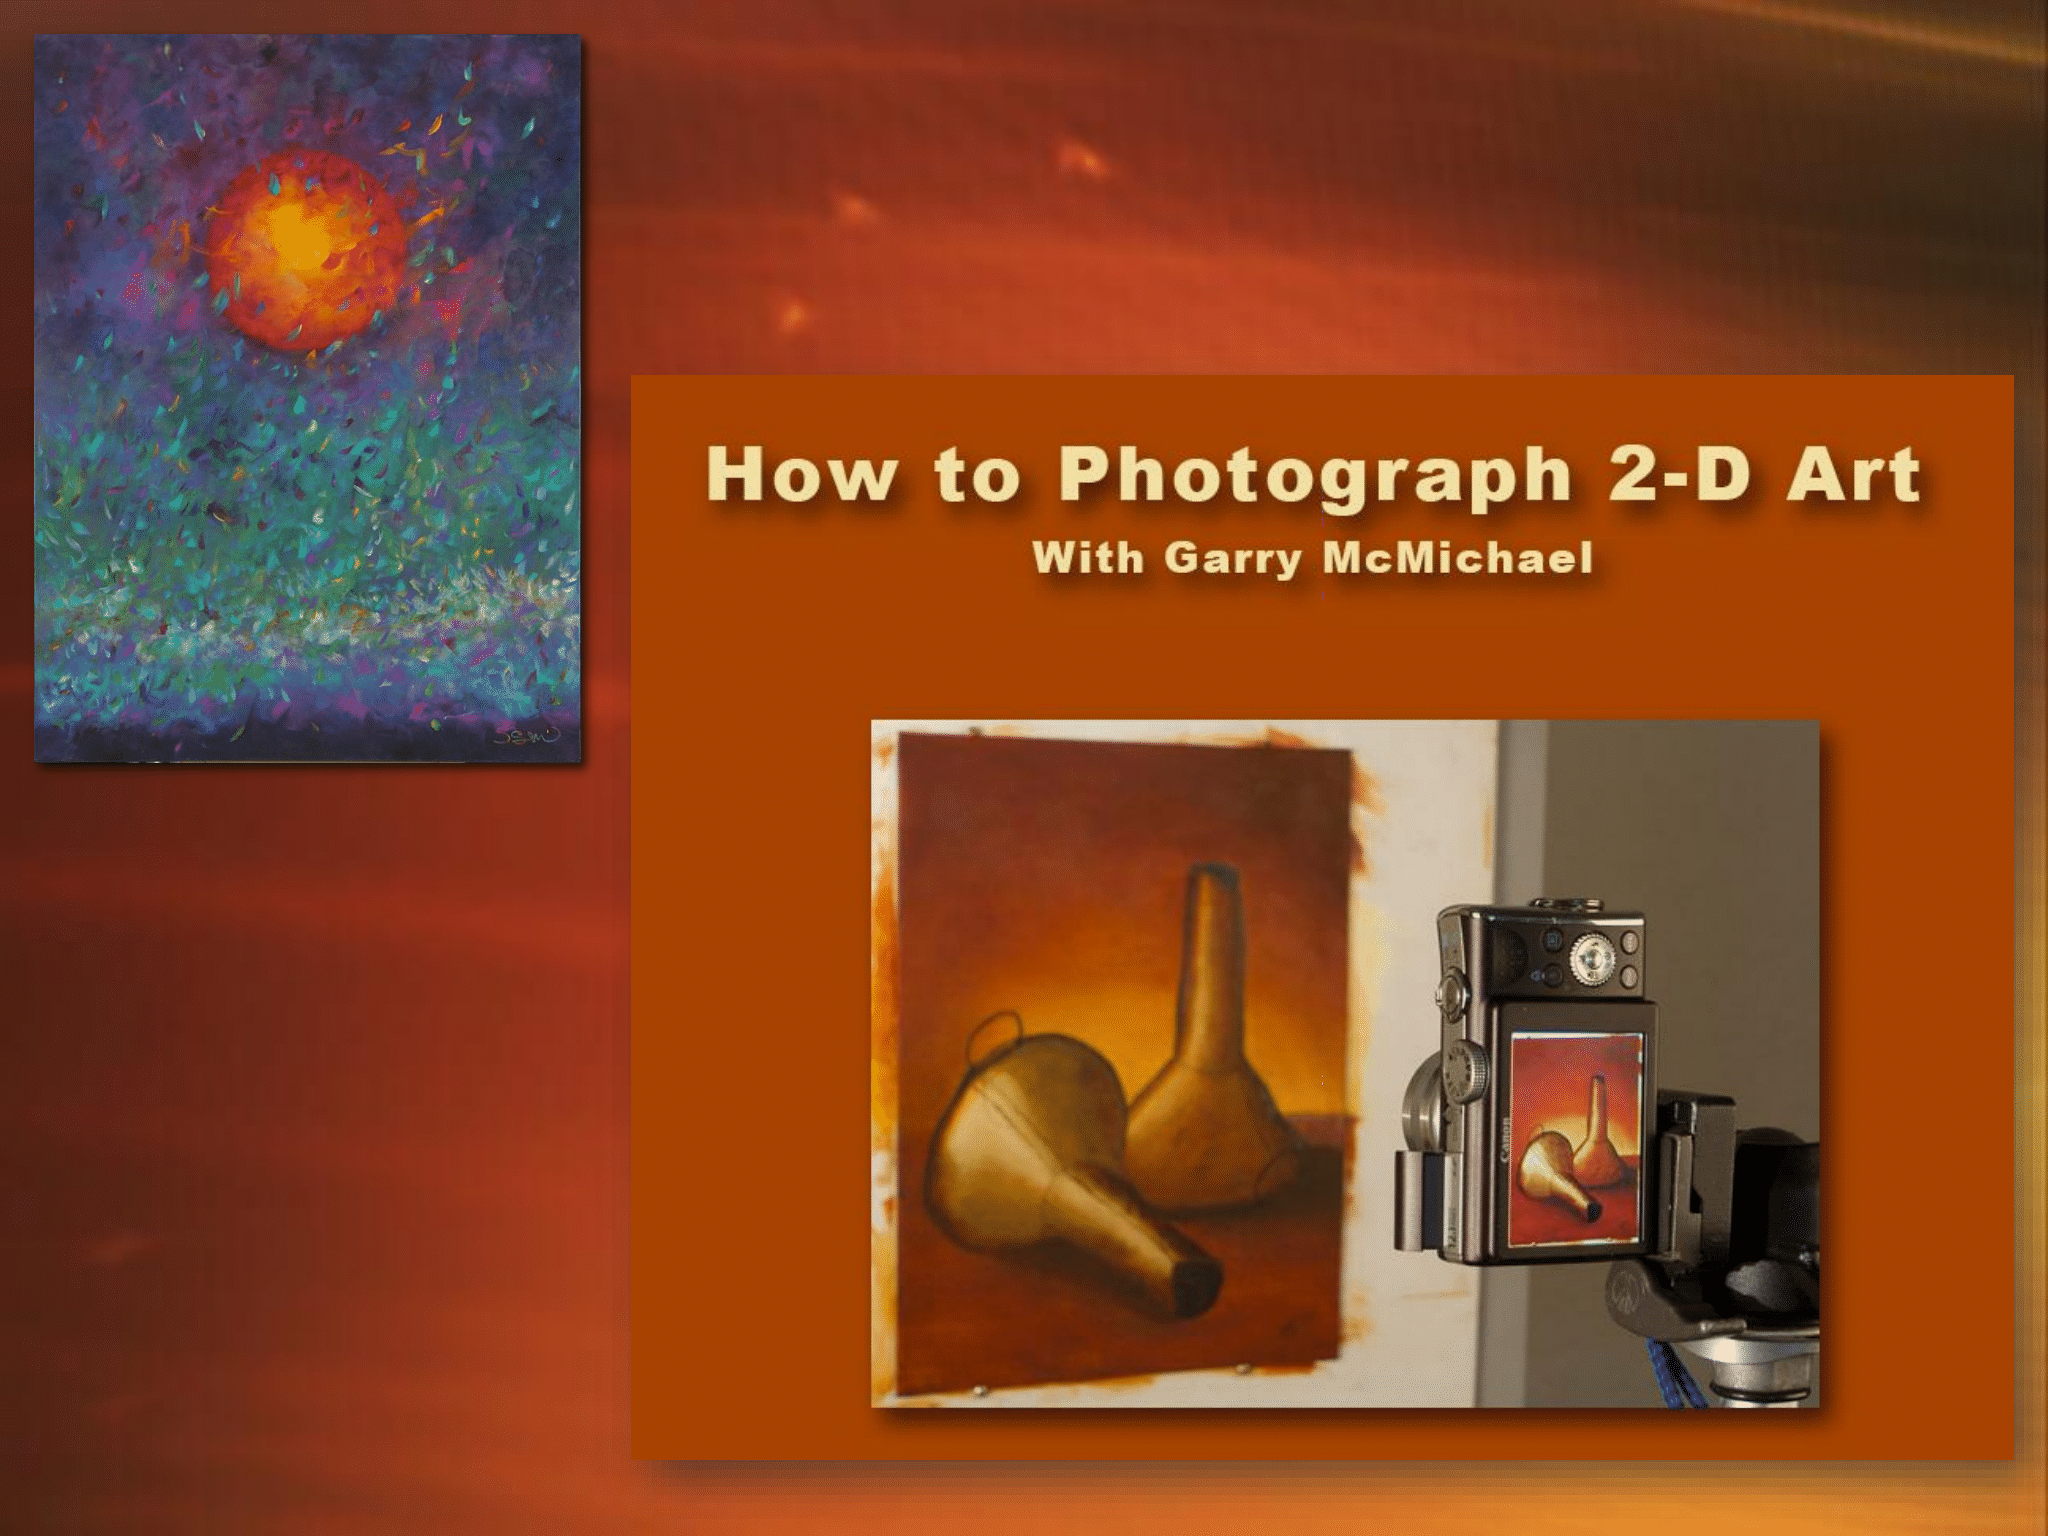
Once your artwork is secured to the wall, double check that the camera is set so the lens lines up with the middle of the painting. You want to position your camera so that the frame is filled with most of the painting, with a bit of background that you can crop out later This bit of background holds your 18% grey card so you can verify color accuracy after taking hte picture. It is important for many juries to see the edges of the paintings to get a sense of scale.
The ISO and aperture of your camera are very important to get clear, crisp and bright images of your artwork. ISO refers to the sensitivity of the sensor similar to what film speed used to measure. The higher the number, the more sensitive the film was to light and the coarser the image. In this case, since we want very crisp images, we want a low ISO. Studio shots will generally be shot at ISO 100.
The f-stop of the aperture of your camera adjusts how much light is let through the lens by making the opening bigger or smaller. The higher the number, the less light is being passed through. With a DSLR, the ideal range for shooting artworks is between f-8 and f-11.
TIP: Set your camera’s timer to four or five seconds so that pressing the shutter button doesn’t create a shake in your image even if you are using a tripod. Alternatively, you can try an inexpensive remote release.
FOCUS, FOCUS and FOCUS! A poorly focused photo can not be corrected in post processing. So making sure your image is in focus is critical. Most cameras have methods to ensure accurate focus. Some cameras have a line or circle in the viewfinder that matches up when the image is in focus. For more advanced cameras, many artists use the enlarge options (not the zoom!) to bring the image closer so that you can focus even down to the flake of pastel or curve of the brush stroke. As an artist, we spend time learning our tools. Cameras are tools with their own rules to master.

Each camera is different and yet the principles of photography are the same for all cameras. Now that you have the work, hanging on a wall, with the correct light and a camera ready to capture the image true to life, hit the shutter (with a timer or remote preferably)!
You have all the data in your camera for a true image of your artwork. There is just a little bit more action required before the image is ready to be sent to the juror or gallery.


